Introduction
VirtEngine is an end-to-end open source cloud management platform offered as a bundled offering with IaaS and can run apps, services, micro services (Docker), Analytics on hybrid cloud.
This tutorial will guide you in creating an account with VirtEngine.
You can access VirtEngine by clicking on https://console.VirtEngine.com.
1. Create an account
- Create an new account in VirtEngine
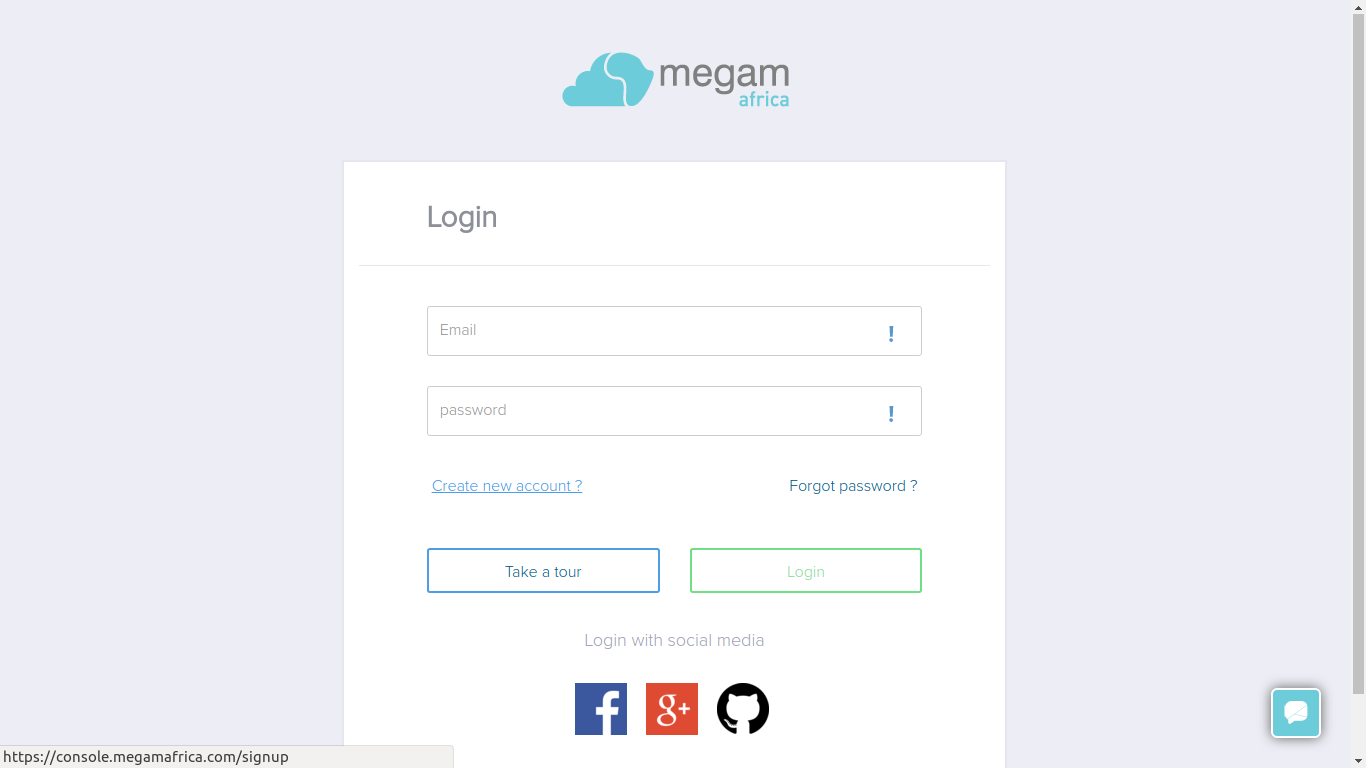
Click the create new account link, it shows like below.
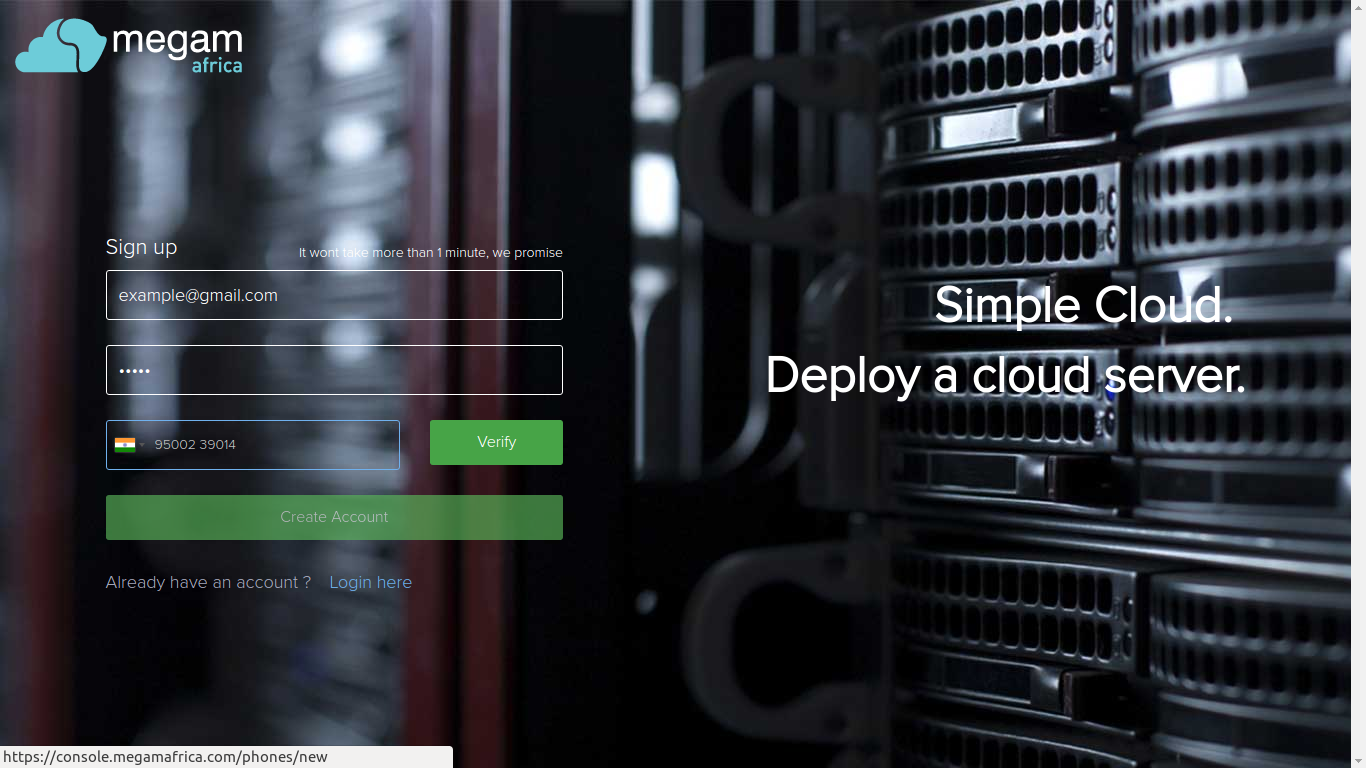
Enter your email-id, password, and mobile number then click verify button the OTP will be sent to your mobile.
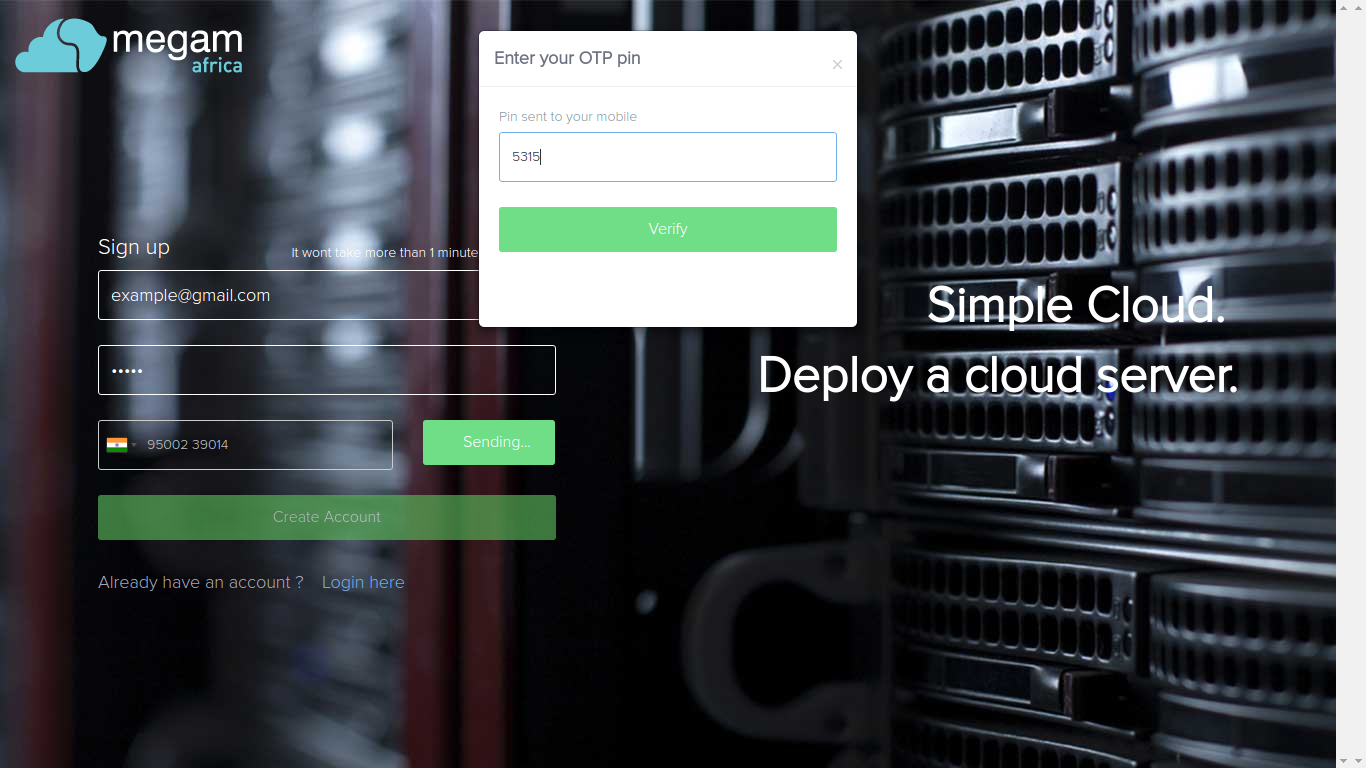
Pop-up window will be open enter the OTP then click the verify button.
It will verify your OTP.
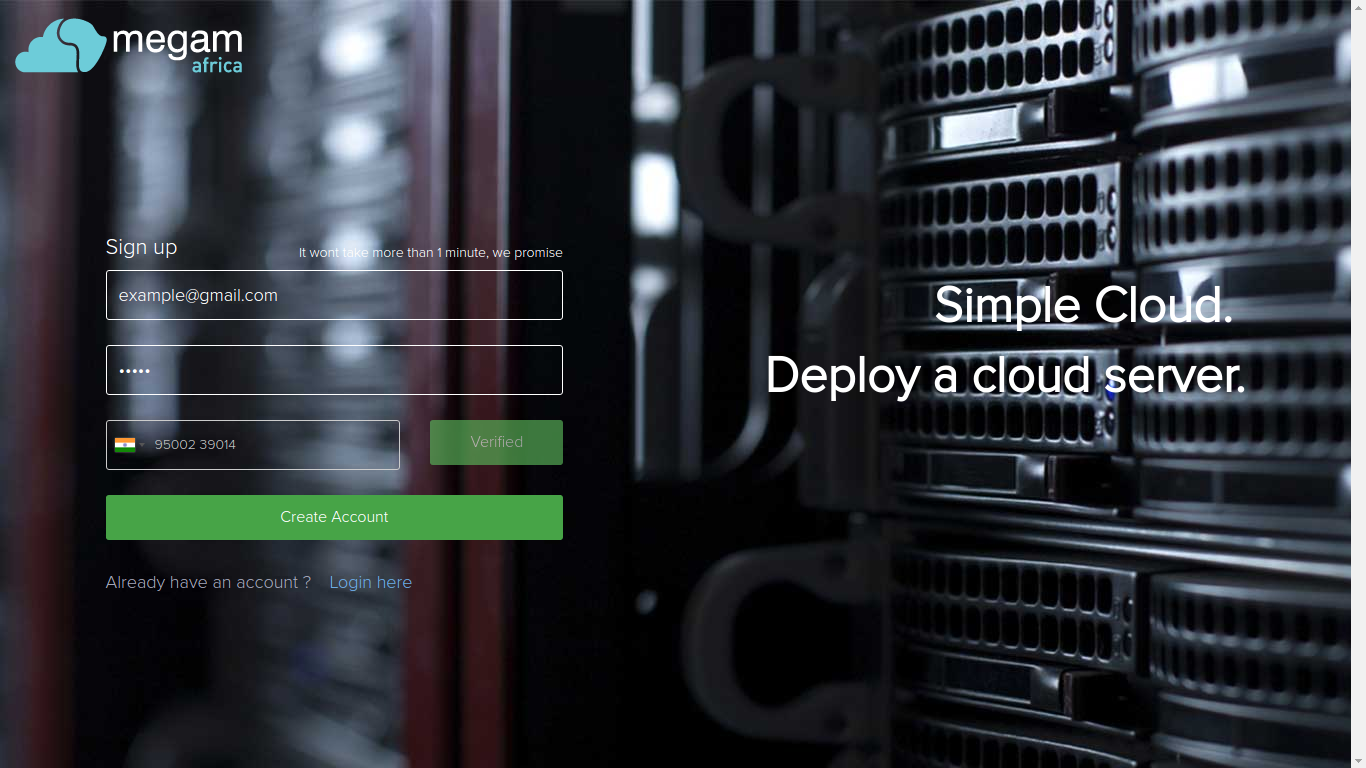
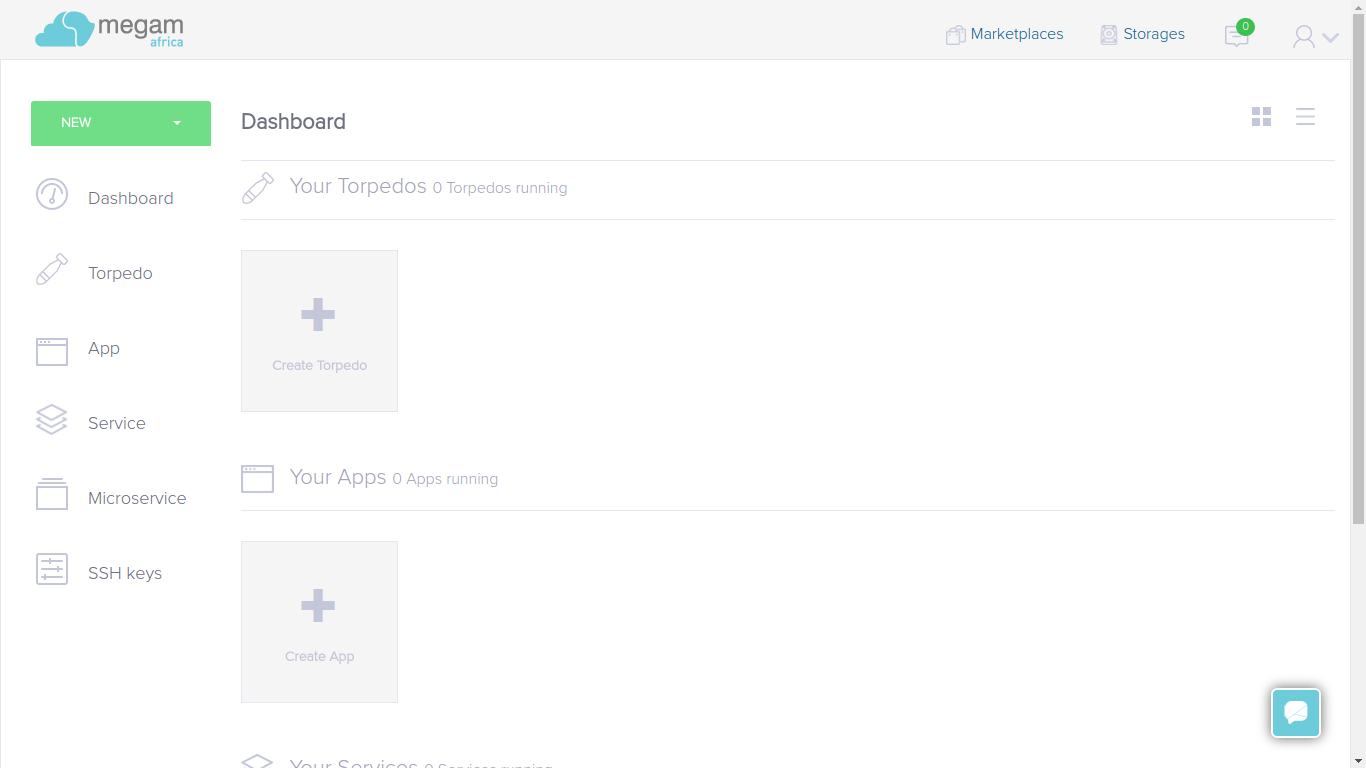
Finally click the Create Account. You have successfully created an account. Now, you will see the dashboard page.
2. Use OAuth - Facebook
You will be see the facebook icon at the bottom of the page. click that icon it shows like below
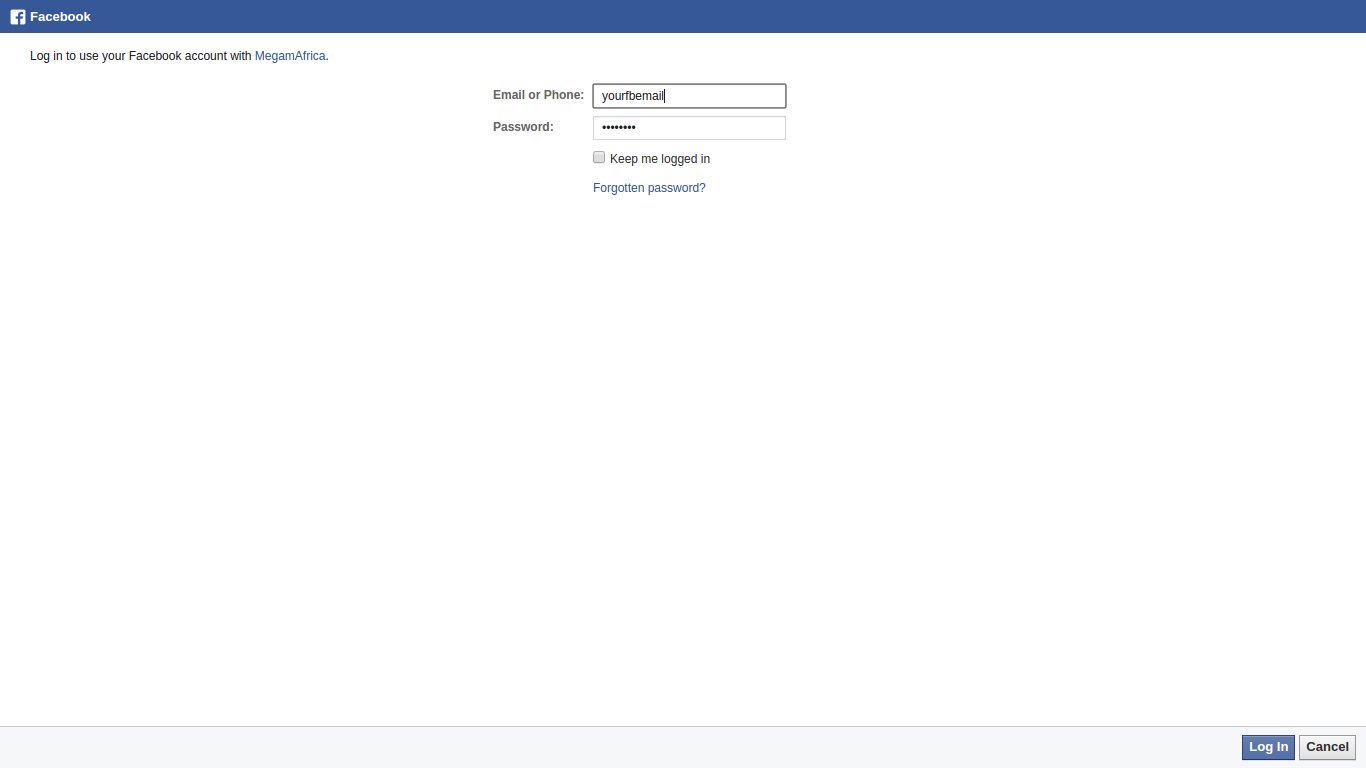
Enter your credentials and then click the login button.
Now, you have successfully created an account in VirtEngine.
We are create an default password
`VirtEngine`
for your account, hence reset it.
You have to reset your password.

Click the Profile link in VirtEngine a pop-up window will open, there you can change your password.
3. Use OAuth - Google+
You wiil be see the google+ icon at the bottom of the page in our website. click that icon it shows like below

Enter your credentials and then click the login button.
Now, you have successfully created an account in VirtEngine.
We are create an default password
`VirtEngine`
for your account, hence reset it.
You have to reset your password.
Click the Profile link in VirtEngine a pop-up window will open, there you can change your password.
4.Use OAuth - Github
You wiil be see the github icon at the bottom of the page in our website. click that icon it shows like below
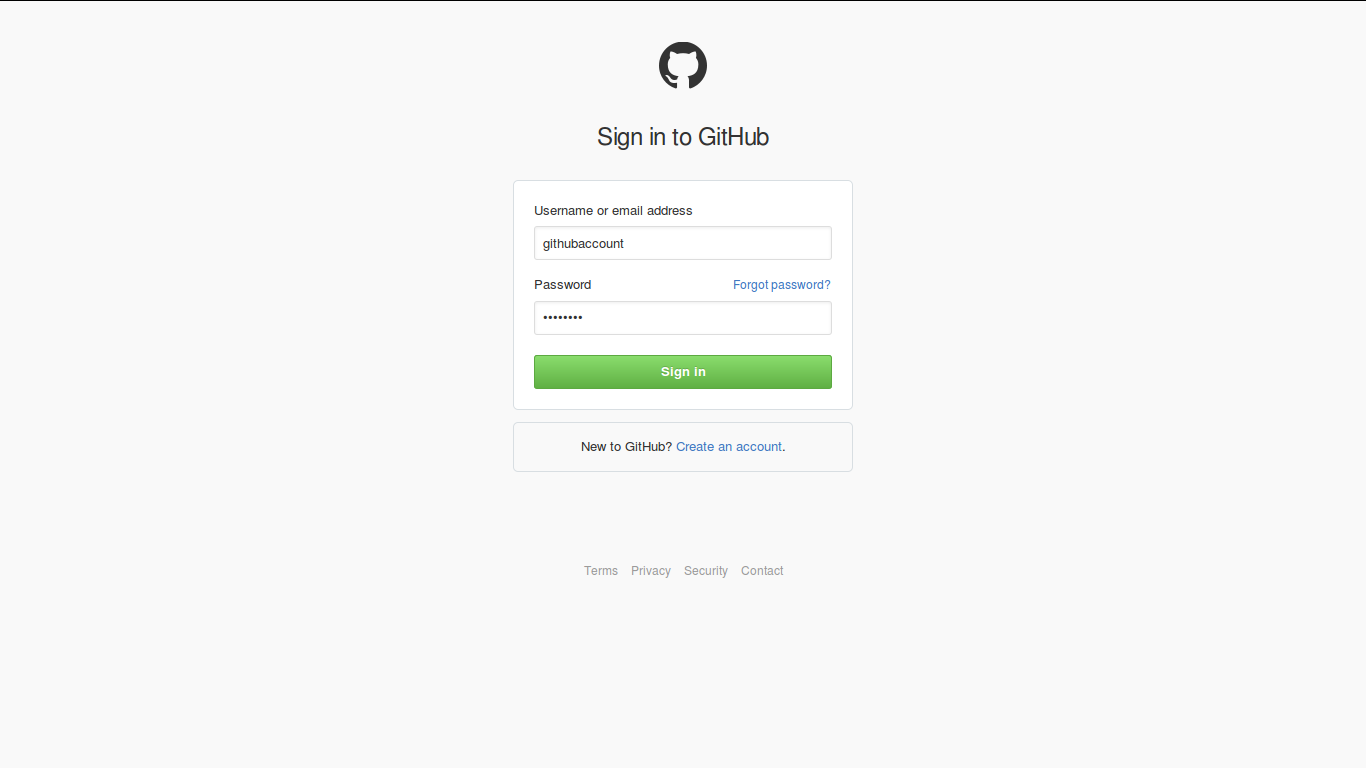
Enter your credentials and then click the login button.
Now, you have successfully created an account in VirtEngine.
We are create an default password
`VirtEngine`
for your account, hence reset it.
You have to reset your password.
Click the Profile link in VirtEngine a pop-up window will open, there you can change your password.
Conclusion
These are the very simple steps to create an account with VirtEngine. VirtEngine website contain lot of feature - very easy to launch Virtual Machines, Apps, Services in VirtEngine.