How to launch WordPress in VirtEngine
Introduction
WordPress is web software you can use to create a beautiful website, blog, or app. We like to say that WordPress is both free and priceless at the same time.
And WordPress is a free and open-source content management system (CMS) based on PHP and MySQL. WordPress is installed on a web server, which either is part of an Internet hosting service or is a network host itself; the first case may be on a service like WordPress.com, for example, and the second case is a computer running the software package WordPress.org. readmore
Prerequisites
You have to create a valid credential access for https://console.VirtEngine.com.
You have to install openssh-server for ssh access.
sudo apt-get install openssh-server
Check SSH working properly
ps aux | grep sshd
Step - 1 Lauch WordPress just by One Click
This initial section contains everything you need to get WordPress and running on your server.
First, ensure the user to login our site .
Go to the Market Places to click the create a new WordPress on Collaboration.
-
A window will pop up with the configurations of your server such CPU, storage, RAM and SSHkey options.
-
You can customize your HDD size,Core and RAM capacity.
-
You can create a new sshkey, use an existing sshkey or import your own sshkeys too.
-
Click the create button. it will create the WordPress Machine.
Step - 2 Access the WordPress Machine
-
Next, Go to the Services it will show your services that you are lauched click the domain name of your wordpress and then a new window is open.
-
Now you can see your machine’s CPU, RAM ,Storage IP address and SSH URL on Usage section.
-
And you can see your Metrics charts of CPU,RAM and Network of your machine.
-
Logs will show all the running process in the server.
-
You can access the virtual machine via SSH connection, you can download the your private and public keys from SSH Keys tab or Overview page. Use this keys to ssh like following command,
$ ssh -i path to/private_key_filename root@ipaddress
Step - 3 Credentials of WordPress
Get your server’s IP from overview page
-
Go to your browser and type as follows
https://IP_ADDRESS/current
-
Now you can see your WordPress welcome page and press Let’s go! on that page.
-
Enter the credentials of database for WordPress. the below are default credentials.
The name of the database you want to use with WordPress.
Database Name : wordpressYour database username and password.
    Username :  root
	Password :	<leave it blank>
You should be able to get this info from your web host, if localhost doesn’t work.
Database Host: localhost
If you want to run multiple WordPress installations in a single database, change this.
Table Prefix : wp_
-
press submit, if the given credentials are valid it gets into next page
-
Press Run the install button shown in the page.
-
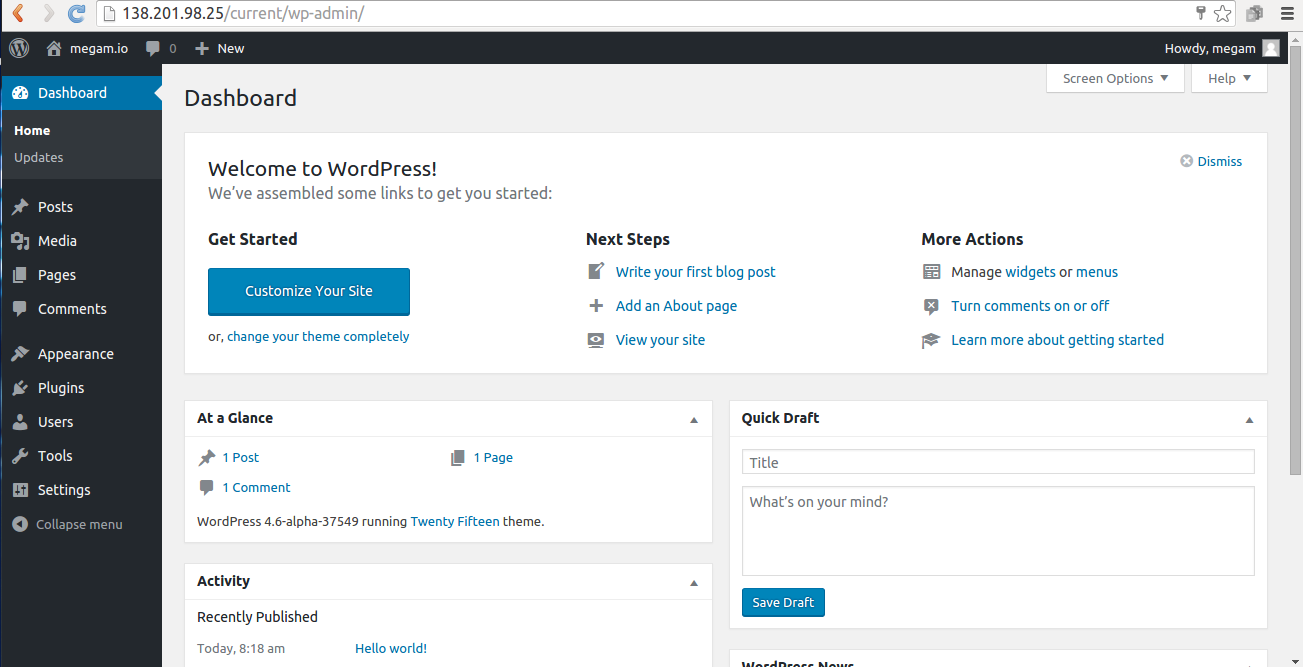
In this page you can choose your WordPress Login username, Password and your Site name.
Login with your user and password it will get to wordpress design page successfully.
Conclusion
These are the very simple steps to launch WordPress in virtual machine. Installing wordpress is faster, so it takes only less time. This is a good head-start for launching a WordPress in VirtEngine.
To Launch your WordPress Server click here