Introduction

Atharva Storage - VirtEngine is a “Cloud object storage, low latency and (S3 - AWS Signature v2) compatible API built on top of ceph - jewel.”.

This tutorial will guide you creating atharva storage in VirtEngine.

Prerequisites

Create Atharva storage in VirtEngine

  • First, ensure the user can login to https://console.VirtEngine.com.

  • Upon successful signin, look for the icon at the top right hand corner named Storage

  • Click the create storage box. A window will pop up and ask for Bucket Name. You can type a name for the bucket.

  • Bucket is successfully created and also its created the access-key and secret-key for your account.

«««< HEAD

  • You can see your Access-key and Secret-key from your profile page in MegamAfrica (https://console.megamafrica.com). =======
  • You can see your Access-key and Secret-key from your profile page in VirtEngine (https://console.VirtEngine.com).

    edd09ed781f1d9a6cf21e54fb8fa40454fe5e504

  • Now, You can upload a files in Atharva Storage using your Access-key and Secret-key.

  • Upload a files using windows and ubuntu using following guide.

How to upload a files from windows to VirtEngine.

How to deploy private docker registry in VirtEngine.

  • Let us verify if the files is uploaded

Logon https://console.VirtEngine.com goto storage place. You can see your bucket, and the uploaded files are displayed.

Conclusion

These are the very simple steps to create an atharva storage in VirtEngine. VirtEngine website contain lot of feature - very easy to launch Virtual Machines, Apps, Services,and providing atharva storage in VirtEngine.

Deploy a Atharva storage now

Introduction

S3 Browser is a freeware Windows client for Amazon S3. Amazon S3 provides a simple web services interface that can be used to store and retrieve any amount of data, at any time, from anywhere on the web.

Introducing Atharva Storage - VirtEngine

Atharva Storage - VirtEngine is a “Cloud object storage, low latency and (S3 - AWS Signature v2) compatible API built on top of ceph - jewel.”.

Upon successful signin to https://console.VirtEngine.com, look for the icon at the top right hand corner named Storage

This tutorial will guide you in setting up a S3 Browser windows client on your windows 7+/10 workstation and connecting it to manage your atharva storage account in VirtEngine.

Prerequisites

Connecting S3 Browser with Atharva (Ceph object storage) VirtEngine

This initial section contains everything you need to setup S3 Browser windows native client on your server.

Step-1 Download S3 Browser for windows
  • Go to this link. S3 browser.

  • Click Download S3 Browser in www.s3browser.com to start your download.

  • Right-click the download file and install it in your windows system.

Step-2 Create the storage setting with VirtEngine
  • Open the S3 Browser.

  • Click the Accounts -> Create New Account button in S3 browser. it will open the pop-up window.

  • Choose S3 Compatible Storage as a storage type and specify REST endpoint as 88.198.139.81.

  • Enter the other details.

    Account Name : Type a name for the account
      Access key
      Secret key
    

You can see your Access-key and Secret-key from your profile page in VirtEngine(https://console.VirtEngine.com)

  • Click the Add new account button the account is created and it display the bucket already created in VirtEngine.
Step-3 Create new bucket
  • Click the Bucket -> Create New Bucket button it will open the pop-up window.

  • Ask for the bucket name, you can assign your bucket name.

  • Click the Create new bucket button the bucket it created.

Upload a file from S3 Browser to VirtEngine
  • Click the Upload button.

  • Choose the one or multiple files to upload/choose an upload folder if you want to upload a whole folder or whole drive.

  • Select the files you want to upload or select the folder to upload. The upload process will begin. You can track the progress on the Tasks tab.

  • Let us verify if the files is uploaded

Logon https://console.VirtEngine.com goto storage place. You can see your bucket, and the uploaded files are displayed.

Conclusion

These are the very simple steps to create bucket and upload files using Windows native client using S3 Browser to Atharva - VirtEngine.

This is a good head-start for using S3 Browser & our Athava ceph based object storage in VirtEngine.

Start uploading to our storage - VirtEngine

Introduction

A Docker registry serves to manage Docker images in your organization, whether created internally or downloaded from remote Docker resources such as Docker Hub.

The Registry is a stateless, highly scalable server side application that stores and lets you distribute Docker images.

Why use it

You should use the Registry if you want to:

  • tightly control where your images are being stored
  • fully own your images distribution pipeline
  • integrate image storage and distribution tightly into your in-house development workflow

This tutorial will guide you in setting up a Private docker registry in VirtEngine.

Prerequisites

  • You are running Ubuntu 14.04 or Linux workstation.

  • Git installed on your server, which you can do by following the How To Install Git with Apt.

  • An account on GitHub, which is a Git repository host.

  • You have to create a valid credential for accessing https://console.VirtEngine.com.How to create an account with VirtEngine.

Introducing Atharva Storage - VirtEngine

Atharva Storage - VirtEngine is a “Cloud object storage, low latency and (S3 - AWS Signature v2) compatible API built on top of ceph - jewel.”.

Upon successful signin to https://console.VirtEngine.com, look for the icon at the top right hand corner named Storage

To Deploy Private Docker Registry

This initial section contains everything you need to set private registry on your server.

Step-1 Creating Ubuntu VM
  • First, ensure you can login to https://console.VirtEngine.com.

  • Go to the Market Places.

  • select the Ubuntu, A window will pop up with for CPU, storage, RAM and SSHkey options.

  • You can choose the storage size, RAM capacity.

  • You can Create a new sshkey, use an existing sshkey or import your own sshkeys too.

  • Click the Create button. it will create the virtual machine.

Step-2 Creating a Bucket in our Storage
  • Go to the Storage.

  • Click the create storage button. it will open one pop-up window. You can create a bucket.

  • Let us provide our bucket name as docker-registry.

Step-3 Installing Docker
  • You need to access the launched Virtual Machine from step-1 via a terminal.

  • You can download the SSH Keys from SSH Keys tab or Overview page. Use this key to login to your virtual machine using the following command,

       ssh -i path to/<private_key filename> root@<ipaddress>
    
  • Update your apt sources

      echo 'deb https://apt.dockerproject.org/repo ubuntu-trusty main' >/etc/apt/sources.list.d/docker.list
      sudo apt-get install apt-transport-https ca-certificates
      sudo apt-key adv --keyserver hkp://p80.pool.sks-keyservers.net:80 --recv-keys 58118E89F3A912897C070ADBF76221572C52609D
      sudo apt-get install linux-image-generic-lts-trusty
    
  • Update your APT package index.

      sudo apt-get update
    
  • Install Docker.

      sudo apt-get install docker-engine
    
  • Start the docker daemon.

      sudo service docker start
    
Step-4 Run the Docker Registry
  • Inside the virtual machine, Use the following command to run the docker registry.

Add an extra STORAGE_PATH=/registry to create a child folder under docker-registry bucket. Apparently this didn’t work for us.

	docker run \
     -e SETTINGS_FLAVOR=ceph-s3 \
     -e AWS_BUCKET=docker-registry \
     -e STORAGE_PATH=/registry \
     -e AWS_REGION=default \
     -e AWS_KEY=<access-key> \
     -e AWS_SECRET=<secret-key> \
     -e AWS_CALLING_FORMAT=boto.s3.connection.OrdinaryCallingFormat \
     -e AWS_PORT=80 \
     -e AWS_HOST=88.198.139.81 \
     -p 5000:5000 \
     registry

     /* enter your bucket-name here.that you are created in step-2.
    You can see your Access-key and Secret-key from your profile page in VirtEngine(https://console.VirtEngine.com) */
  • Create a docker images by running the following command

Enter this command in your virtual machine

	sudo docker pull <imagename>
    eg: sudo docker pull hello-world ![](https://blog.virtengine.com/content/images/2016/06/p1-1.jpg)
  • Check if the image is downloaded in the VM

     docker images
    

  • Push downloaded docker image to your private registry.

As you are inside the VM, the private registry is running under 127.0.0.1:5000

sudo docker tag hello-world 127.0.0.1:5000/hello-world
sudo docker push 127.0.0.1:5000/hello-world

  • Let us verify if the image is stored

Logon https://console.VirtEngine.com goto storage place. You can see the docker images in file structure order.

  • Grab the private regitry’s ipaddress

    ifconfig

In our case the docker registry is running at 138.201.98.3.

Step-5 Pull a docker images
  • Goto your workstation, Open the /etc/default/docker file

  • Edit or add the DOCKER_OPTS line and add the --insecure-registry flag.

      DOCKER_OPTS="--insecure-registry <vm-ipaddress>:5000"
    
  • Close and save the configuration file.

  • Restart your Docker daemon

          service docker stop
      		service docker start
    
  • To run the pull command, make sure docker is running

    docker pull 138.201.98.3:5000/hello-world

Conclusion

These are the very simple steps to create vm, utilize our atharva storage.

This is a good head-start for deploy a private docker-registry in VirtEngine.

Deploy your Private Docker Registry now

Ceph Object Gateway is an object storage interface built on top of librados to provide applications with a RESTful gateway to Ceph Storage Clusters. Ceph Object Storage supports two interfaces:

S3-compatible: Provides object storage functionality with an interface that is compatible with a large subset of the Amazon S3 RESTful API.

Swift-compatible: Provides object storage functionality with an interface that is compatible with a large subset of the OpenStack Swift API.

My ceph cluster setup

ceph version  : (10.2.1) Jewel

mon, osd1 and osd2 - mon-server(192.168.1.10)
osd3 and osd4 	 - node2(192.168.1.11)
gateway node       - gateway(192.168.1.12)
OS				 - Ubuntu Trusty(14.04.2 LTS)
User 			  - megamsys (with sudoer permission)

To run the Ceph object gateway service on Ubuntu 14.04 (Trusty), you should have a running Ceph cluster and the gateway host should have access to storage and public networks.

In my case, I've done the follwing in mon-server(192.168.1.10)

INSTALL CEPH OBJECT GATEWAY DAEMON USING CEPH-DEPLOY

Ceph-deploy tool is reduced the effort to setup gateway.

And make sure you have password less access for ceph cluster mon and gateway for the apropriate user.

Run the below commands on admin node

$ su megamsys

$ cd /home/megamsys/ceph-cluster

$ ceph-deploy install --rgw gateway

$ ceph-deploy admin gateway

$ ceph-deploy rgw create gateway

Civetweb runs on port 7480 by default.

To change the default port (e.g., to port 80), modify your Ceph configuration file in the working directory of your admin node. Add a section entitled [client.rgw.< gateway-node >], replacing < gateway-node > with the short node name of your Ceph Object Gateway node (i.e., hostname -s).

append the following after the [global] section:

[client.rgw.gateway]
rgw_frontends = "civetweb port=80"

Push the updated configuration file to your Ceph Object Gateway node (and other Ceph nodes):

$ ceph-deploy --overwrite-conf config push mon-server gatway node2

Run the below command on gateway-node

$ sudo service radosgw restart id=rgw.gateway

CREATE POOLS

If pools already exist, no problem. If not, create all the pools listed below

$ ceph osd pool create .rgw.buckets 128 128

.rgw
.rgw.root
.rgw.control
.rgw.gc
.rgw.buckets
.rgw.buckets.index
.log
.intent-log
.usage
.users
.users.email
.users.swift
.users.uid

calculate you pg_num using

max(128, Nearest power of 2 (No. of OSDs * 100 / No. of Replications / 10))

for example

max(128 ,Nearest Power of 2 (4 * 100 / 2 /10))

NOTE if write permission is given, Ceph Object Gateway will create pools automatically.

To increase your pg_num

ceph osd pool set < pool name > pg_num 128
ceph osd pool set < pool name > pgp_num 128

USING THE GATEWAY

CREATE A RADOSGW USER FOR S3 ACCESS

$ sudo radosgw-admin user create --uid="testuser" --display-name="First User"

The output of the command will be something like the following:

{"user_id": "testuser",
"display_name": "First User",
"email": "",
"suspended": 0,
"max_buckets": 1000,
"auid": 0,
"subusers": [],
"keys": [
{ "user": "testuser",
"access_key": "I0PJDPCIYZ665MW88W9R",
"secret_key": 	"dxaXZ8U90SXydYzyS5ivamEP20hkLSUViiaR+ZDA"}],
"swift_keys": [],
"caps": [],
"op_mask": "read, write, delete",
"default_placement": "",
"placement_tags": [],
"bucket_quota": { "enabled": false,
"max_size_kb": -1,
"max_objects": -1},
"user_quota": { "enabled": false,
"max_size_kb": -1,
"max_objects": -1},
"temp_url_keys": []}

NOTE The values of keys->access_key and keys->secret_key are needed for access validation.

ACCESS VERIFICATION

install the python-boto package

$ sudo apt-get install python-boto

Create the Python script:

$ nano s3.py

import boto
import boto.s3.connection
access_key = 'YOUR_ACCESS_KEY'
secret_key = 'YOUR_SECRET_KEY'
conn = boto.connect_s3(
aws_access_key_id = access_key,
aws_secret_access_key = secret_key,
host = '{FQDN}',
is_secure=False,
calling_format = boto.s3.connection.OrdinaryCallingFormat(),)
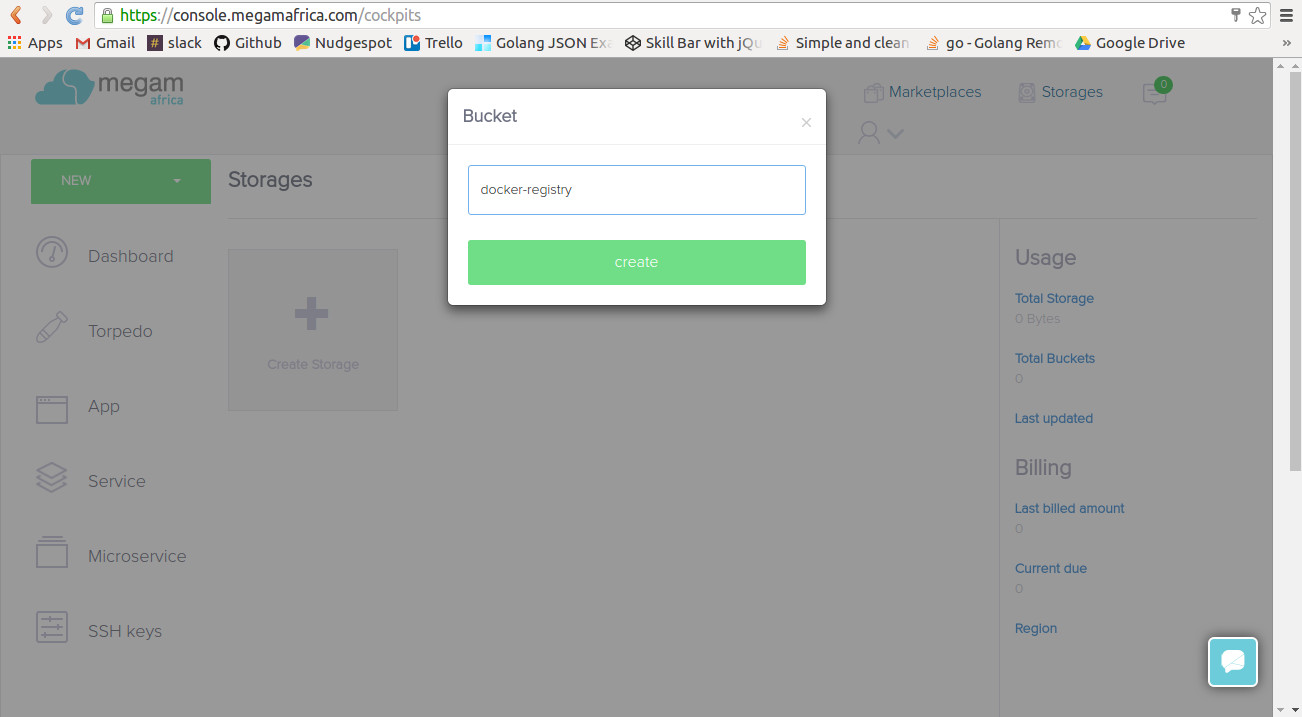
bucket = conn.create_bucket('my-new-bucket')
for bucket in conn.get_all_buckets():
	print "{name}\t{created}".format(
		name = bucket.name,
		created = bucket.creation_date,
)

Run the script:

$ python s3.py

The output will be something like the following:

my-new-bucket 2016-05-21T17:09:10.000Z

Test in ruby language

To test ceph-gateway, we have use rubygem s3. Source code is in https://github.com/megamsys/radosgw-s3

Revert installation

There are useful commands to purge the Ceph gateway nstallation and configuration from every node so that one can start over again from a clean state.

This will remove Ceph configuration and keys

ceph-deploy purgedata gateway

This will also remove Ceph packages

ceph-deploy purge gateway

IF you received the below error when you attempt to install radosgw again client.rgw.gateway exists but key does not match

Execute this to fix the error ceph auth del client.rgw.gateway

Introduction

Apache CouchDB, commonly referred to as CouchDB, is open source database software that focuses on ease of use and having an architecture that “completely embraces the Web”. It has a document-oriented NoSQL database architecture and is implemented in the concurrency-oriented language Erlang; it uses JSON to store data, JavaScript as its query language using MapReduce, and HTTP for an API.

This tutorial will set up launching CouchDB.

img

Prerequisites

To follow this tutorial :

You have to create a valid credential for access https://console.VirtEngine.com.

You have to install openssh-server in your linux machine for ssh access.

$ sudo apt-get install openssh-server

To check the ssh is properly installed in our system

$ ps aux | grep sshd

Step - 1 Creating CouchDB

This initial section contains everything you need to get CouchDB and running on your server.

  • First, ensure the user can login to our console.VirtEngine.com

  • Go to the Market Places.

  • Select the CouchDB, A window will pop up with for CPU, storage, RAM and SSHkey options.

  • You can choose the storage size and RAM capacity.

  • You can create a new sshkey, or use an existing sshkey or import your own sshkeys too.

  • Click the create button. it will create the virtual machine.

Step - 2 Accessing CouchDB

Next, Go to the Dashboard and click the domain name a new window is open.

  • It contains the CPU, RAM and Storage tab.

  • It shows the Metrics, VM Logs, IP address and SSH URL.

  • Metrics shows the CPU,RAM and storage usage.

  • VM Logs shows all the running process in VM.

  • You need to access the virtual machine in terminal, you can download the SSH Keys from SSH Keys tab or Overview page. Use this keys to login the terminal in following command,

$ ssh -i path to/ root@

successfully launched the vm.

Step-3 Open Your Web browser

You can access your web page using https://localhost:5984/

Conclusion

These are the very simple steps to launch CouchDB in virtual machine. Creating vm is faster, so it takes only less time. This is a good head-start for launching CouchDB in VirtEngine.

To Deploy your app

img